• Welcome to the Checkmate Community Forums forums.

    You are currently viewing our boards as a guest which gives you limited access to view most discussions, articles and access to our other FREE features.
    By joining our free community you will be able to:

    » Interact with over 10,000 Checkmate Fanatics from around the world!
    » Post topics and messages
    » Post and view photos
    » Communicate privately with other members
    » Access our extensive gallery of old Checkmate brochures located in our Media Gallery
    » Browse the various pictures in our Checkmate photo gallery

    Registration is fast, simple and absolutely free so please, join our community today!

    If you have any problems with the registration process or your account login, please contact support by clicking here or by using the"contact us" link at the bottom of the page.

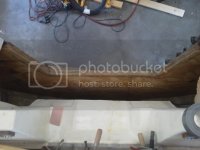
Drop new transom in from top retaining inner and outer skins

Tx91z28

Well-known member
Hey fellas been away from the forum for a while, The Ol Check is running well put up in the garage for winter time. I do have a question for you guys with more glassing experience than me:

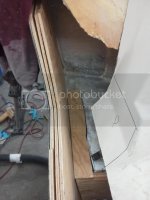
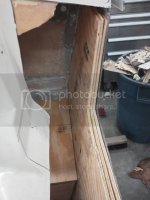
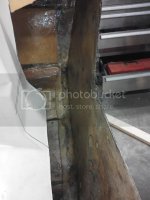
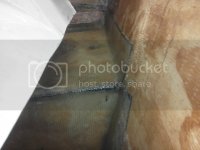
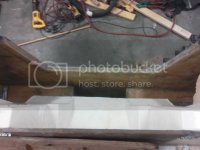
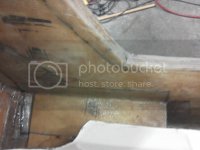
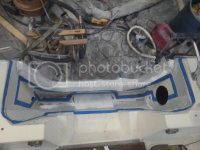
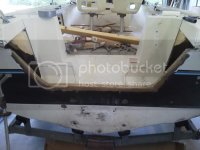
I am replacing the transom on a 19' center console (arrow glass "coho") with a '91 125 Evinrude. I have removed the transom cap and removed old wood completely, leaving both the inner and outer skin intact. I was going to cut the inner skin off but the way the floor and cap are i'd have to cut up a TON of stuff to be able to remake the inner skin. I dont want to do seacast so I was wondering if it's possible to drop a new transom in from top retaining both the inner and outer skins? This one would have to be done in three pieces interlocking, but I'm more worried about getting the new wood to adhere to the old skins well enough to be "OK". I was thinking about using epoxy, brushing it on the skins for one coat, then putting some mat/cloth on each skin, then use some kind of filler/soaked-csm/??? jammed in between the new transom core and the fresh glass? I know thats from idea but this thing will never go faster than 40mph and it was free so if its undoable I'll keep the motor/trailer and wait for a deal on a new go-fast hull
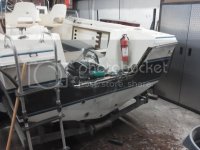

IMG_20121229_204030_zps7d4be4a5.jpg

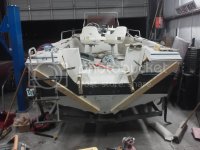
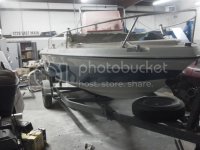
and there is the check all put up for winter (cover is on now)

IMG_20121228_170249_zpsc93b1efd.jpg
 
I think without removing the cap totally is to cut about a foot from the transom or enough to replace the new piece. You want to remove the cutout piece in one section, once you're done with the transom glass the section Then either paint or glecoat to match. Basscat boats transoms are replaced that way because the hull and cap are glassed together from the factory. Look at this thread: http://www.bbcboards.net/bassboat-restoration/161306-1991-basscat-pantera-ii-project.html
 
I had Kevin Brown in Bucyrus Oh replace the transom in my Enforcer ob and thats the way he did it. He also told me that is possible to install the wood in 2 pieces if you have to. You can call Kip at Cmate and get his number if you have questions.
 
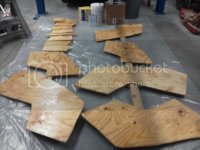
Here's is a thought. Replace it with two 3/4'' ply. Make a template out of paper, transfer to cardboard and then cut it on a diagonal about 60/40%. This way you should be able to slide the pieces in from the center once you get the angle right. After you get one piece of ply in, reverse the pattern for the second piece. You'll end up with an X overlapping seam. Keep in mind when working with epoxy, once you begin, you have to keep going. Cured epoxy must be sanded to create a bond. I would use a slow cat, mix in a bonding filler and line up some friends to help mix and maneuver. Good luck which ever way you decide. Keep us posted. :cheers:
 
I'm curious on why guys cut the back deck instead of popping the deck off when replacing the transom? On most 20' range CM OBs, you can drill the deck rivets and remove the screws and gunnel trim in an hour or so. The only semi hard part is cutting the transom lip where it has been puddied. Seems like a lot easier to deal with then glassing the back deck back on after the transom install. Plus, by popping the deck gives you a lot more room to work with.

Thx-

Just a guess but when you get boats that have tall freeboard (Enforcer, 2800SX,Convincor) etc it's easier/quicker to cut the deck than to drill out 1000,s of rivets. Plus the deck is heavy for a one person job. I think Bravo I decided against pulling the deck on his resto, if I remember correctly.
 
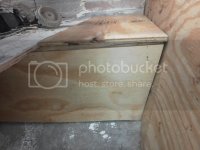
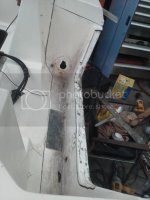
Thanks for the advice guys, I ended up cutting the splashwell out which gives me plenty of room to work with, transom will have to be two pieces but will be done very similarly to how redstrat is describing. 95% of the wood is out, inner skin cut off, just needs a grind to prep the old glass and it's ready to be put back together. I'll get some pics up later tonight

I drilled some test hole to test the core, and..... its a solid glass hull :D Its a fishing boat so I couldn't care less about extra weight, and no core means no rotten core!

I may not use epoxy because I still have 2 or 3 gallons of poly laying around, but I used epoxy on a small job recently and I liked working with it much better. I donno we'll see what my wallet says.

I'm curious on why guys cut the back deck instead of popping the deck off when replacing the transom? On most 20' range CM OBs, you can drill the deck rivets and remove the screws and gunnel trim in an hour or so. The only semi hard part is cutting the transom lip where it has been puddied. Seems like a lot easier to deal with then glassing the back deck back on after the transom install. Plus, by popping the deck gives you a lot more room to work with.

Thx-

Having done a cap-off repair on an MX-15, and thinking about doing it on this boat, I dont think I would attempt to pull the cap. The riveting/aligning/rubrail/etc/etc is worse than a few extra glass repairs (as long as your planning to paint/gel the cap either way).
 
If you are doing it in two pieces, I would try to incorporate some Beefier bracing if possible, ie. some massive, thick, knee boards and same for cross brace. Good luck. You'll be ok, you do good work! :thumb:
 
still pluggin along at this, ended up having to take out 12" of stringer too, no more rot though i checked EVERYWHERE.

Went with vinalester resin, got it all ground out gonna start sligning resin this week/weekend
 
Today I wiped down the inside of the hull with acetone, and rolled on a layer of resin to get 100% coverage for the mechanical bond of old to new resin.

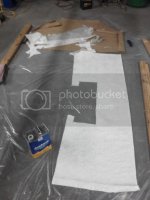
Then I put on a layer of 1708 on the old transom skin for a good solid layer of glass to back up the 23 year old skin that I mercilessly took an angle grinder too :bigthumb:

IMG_20130830_220839_zps4fff5cc2.jpg

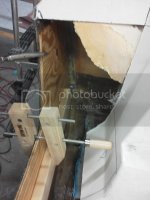
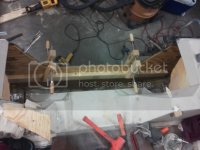
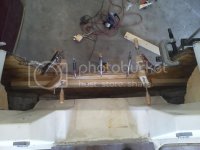
from there I mixed up some resin with cabosil (aerosil now from my local supplier) to be the consistency of honey. I spread it on the 1708 to bed the new wood in - pretty thin, like a 1/16" or less. Once that was spread out I slapped in the first of three layers of plywood. I used a 2x4 brace with two wood clamps to d othe majority of the clamping.

IMG_20130830_225121_zps95152c0a.jpg

IMG_20130830_225232_zpsf0b40c89.jpg

I also used two vice grips, and two 2x4's with 3" wood screws into the new transom wood - used D-ring and drain holes so no new holes in the old skin :bigthumb:

IMG_20130830_225137_zps7d552bb1.jpg

more tomorrow!
 
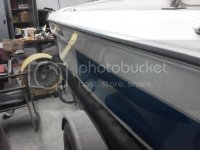
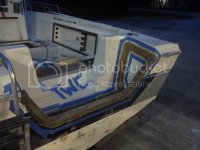
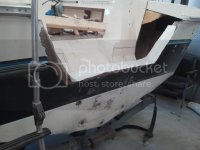
the resin was still runny when I got to the shop this morning! So i pulled the boat out into the sun to help it out. This is a funky shaped hull, and the 90's decals HAVE to go. I have all the stickers/tags/name off, but the blue and black in this picture is in the Gel.... :brickwall: Probably will paint/gel over that whole section bow to stern in dark blue
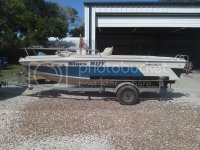
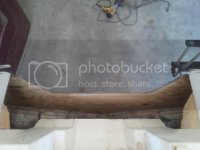
IMG_20130831_162216_zps35a017fd.jpg

that worked and 3 hours later I had the clamps off

IMG_20130831_164648_zps75504baf.jpg

the rest of the transom boards and glass clamped in this is curing until morning. The layup scedule is old skin, 1708, 1/2" plywood, 1708, 3/8"plywood, 1708, 1/2" ply wood, and then tabed in with 1708,and then a big layer of 1708 over that!

IMG_20130831_175021_zpsacc19e89.jpg

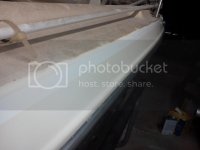
these next two pics are the hull after a quick wipe with paper towels and acetone, this boat was very well taken care of minus the rot. Its NASTY DIRTY right now but it'll clean up nice.

IMG_20130901_001142_zps3c2f877a.jpg

IMG_20130901_001204_zps24c28694.jpg

the gel has yellowed, you can see it's nice and white under the stickers (now all removed). I am gonna try starbrite hull cleaner on it, if that doesnot work maybe try FSR but i've never had luck with it. I just dont want to wetsand and buff it :shakehead:

IMG_20130901_001309_zpsb7bf20f1.jpg

IMG_20130901_001317_zpsbb71ae09.jpg
 
I love the quality gel work that was hidden under the decals. :shakehead:

Looks like your doing a good job restoring a nice old boat. I would have probably done it almost exactly like you are.

:thumb:
 
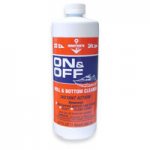
I tried the on & off, and starbrite "hull cleaner" - neither one did a dam thing to the yellowed gel coat :yell: I had to take some 240 grit sandpaper to it to get the yellow off, its pretty deep. it's so uniform it's like UV damage or just yellowing with age (although its bright white under the decals). I'm no sure what options I have left other than sanding or painting, both are way too much work for this project
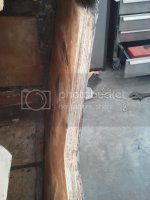
I did use the on & off on dad's boat just to test it out and that stuff is AWESOME at getting rust stains out!

transom boards in, ground smooth-ish

IMG_20130901_145252_zpsf74d8242.jpg

outer skin ground

IMG_20130901_161742_zps4726d48d.jpg

1708 ready to go on

IMG_20130901_145412_zps060f5611.jpg

wetted out

IMG_20130901_1618271_zps2fc21852.jpg

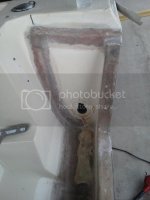
stringer/box work (yes I got that big bubble out, couldn't really see it until i stuck the camera in there)

IMG_20130901_225130_zpsac6ceab5.jpg

more tabbing and big ol' sheets of 1708

IMG_20130902_000511_zpsc614cff8.jpg

IMG_20130902_000527_zps44c22d06.jpg

I started with 8 yards of 1708, this is what's left. I have used 2.5 to 3 gallons of resin up to this point

IMG_20130902_000656_zpsb3128f47.jpg

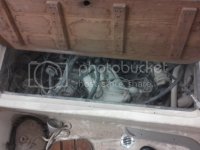
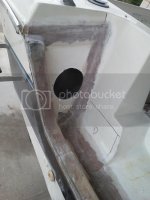
now before i stick the splash well back on I'm gonna sort out the rigging back there. its a mess right now :eyecrazy:

IMG_20130901_233401_zps90b917a1.jpg

more tomorrow!
 
On/off is great stuff. I have used it for years till seeing its is a acid based product. Go to home depot and get muratic acid which is for cleaning fiberglass and the main thing in the over priced on/off. Its a bit stronger and works better. Just put it on with a spong or keep the trailer wet. It eats metal.
 
well I have spend the last couple weeks re-wiring and rigging the boat, new fuel/oil lines, drained tank, battery, a bunch of little stuff that took way to long but I could not leave the 20 year old rigging I would never trust it enough to go offshore

got the spashwell fitted back into the hull:

IMG_20130928_143313_zps8c799915.jpg

1708 cut:

IMG_20130928_175231_zps0e7fef90.jpg

wetted out:

IMG_20130928_192709_zpsf2dc28a1.jpg

sanded:

IMG_20130929_153316_zpsc56d9366.jpg

IMG_20130929_153328_zpsfea4558b.jpg

Now I am bodyworking it :irked: splashwells SUCK to sand. hope to have it ready for paint in a few days. I want this boat done I need to start another check project! if anybody has a lead on a 2800 OB I'm lookin :popcorn:
 
Back
Top