Old Hickory
Active member
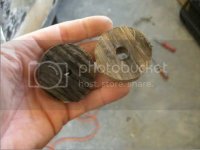
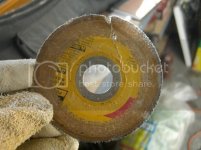
Well, it's been awhile but I've actually moved along; I tackled the the gritty job of removing the transom. This first pic is of a core I removed early on which told me right away that the transom would have to come out.
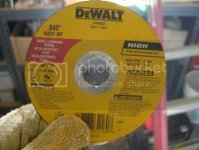
I started first by trying to select the right cutting tools. The first was a metal cuting blade for my grinder.
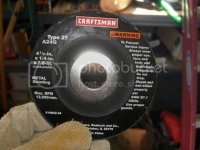
The second is a metal grinding wheel; this has turned out to be an excellent choice. It does alot of things well.
I started by first cutting a checkerboard pattern thru the glass and into the first layer of wood.
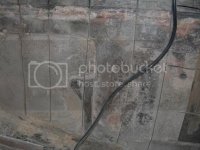
This turned out fatefull for my cutting blade; it started coming apart pretty quickly. I then turned to my circular saw which worked much better.
I then began using a 2" wood chisel and hammer; and as you can see from the next few pics it was coming out nicely.
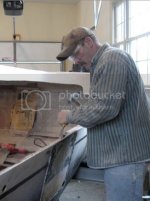
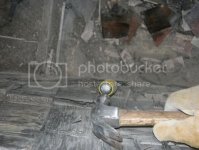
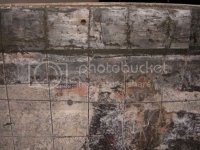
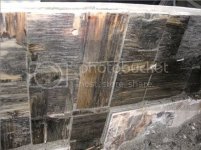
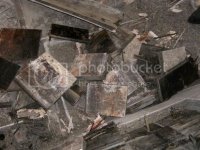
It was at this point I hit a couple of snags. First, checkmate used alot staples to hold the wood together while it was setting from the glue. These played havoc with my chisel. Three or four wacks and the edge looked like a tennessee hillbilly grin. The metal grinding blade started becoming very useful; it sharpens a wood chisel pretty darn quick.
Second, the center layers of wood were more saturated with water and it was like trying to cut rubber with a chisel that wouldn't stay sharp. The next pic demonstrates what I mean.
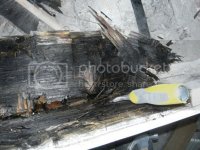
I was making very slow progress at this point and frustration was setting in. Thank goodness for spring sports and the pinewood derby. Saturdays were pretty much taken up by three boys playing soccer and flag footbal; and also trying to help all three of them build their derby cars. While looking at a wedge shaped car I got the idea that I might be able to wedge the transom away from the outer skin.
Several weeks went by and I went out to inspect where I had left off. The wood had dried considerably and I noticed there was some seperation starting to take place between the skin and the wood from the transom. It would be a couple of more weeks before I could put my idea to the test.
D-Day
Well now it's time to impliment my brainstorm. I first cut seven wedges; four that came to fine points about 12" long and three that had blunt ends about 18" long.
I drove the thinner wedges in first being careful not to drive them too quickly. I didn't want to run the risk of cracking the outer skin. Some of these pics are out of order, but you'll get the idea.
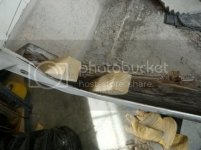
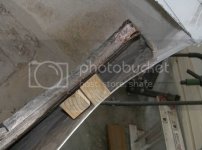
These went in on the right and left sides. I then started a larger wedge in the middle.
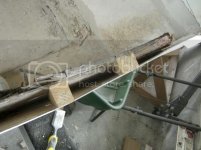
It was amazing; you could hear the wood separating from the glass; once the cracking and poping slowed I would begin driving a little further. I then began to realize that I hadn't gotten all the glass away from the bottom and sides of the transom. So I took my grinder and ground the glass all the way around the inside perimeter of the transom; down to the wood.
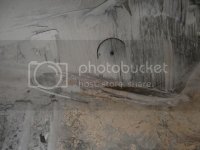
Once that was accomplished the wood should seperate easily the further I drove the wedges. I began two more large wedges on the right and left sides.
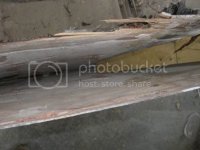
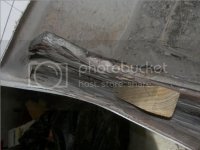
I finally had what appeared to be good seperation. I waited untill I couldn't hear any more crackling and gave the wood a good shove. She popped right out!
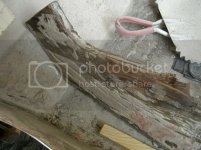
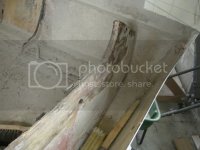
Here's a couple of more pic's
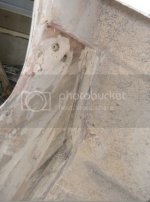
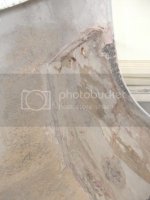
Now the transom is out, thank goodness, and is ready for grinding and replacing.
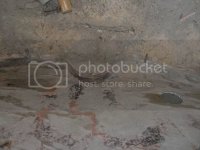
I'll be posting the the cutting and glueing of my replacement transom soon. Thanks for looking.
Hick


I started first by trying to select the right cutting tools. The first was a metal cuting blade for my grinder.

The second is a metal grinding wheel; this has turned out to be an excellent choice. It does alot of things well.

I started by first cutting a checkerboard pattern thru the glass and into the first layer of wood.

This turned out fatefull for my cutting blade; it started coming apart pretty quickly. I then turned to my circular saw which worked much better.

I then began using a 2" wood chisel and hammer; and as you can see from the next few pics it was coming out nicely.


It was at this point I hit a couple of snags. First, checkmate used alot staples to hold the wood together while it was setting from the glue. These played havoc with my chisel. Three or four wacks and the edge looked like a tennessee hillbilly grin. The metal grinding blade started becoming very useful; it sharpens a wood chisel pretty darn quick.
Second, the center layers of wood were more saturated with water and it was like trying to cut rubber with a chisel that wouldn't stay sharp. The next pic demonstrates what I mean.

I was making very slow progress at this point and frustration was setting in. Thank goodness for spring sports and the pinewood derby. Saturdays were pretty much taken up by three boys playing soccer and flag footbal; and also trying to help all three of them build their derby cars. While looking at a wedge shaped car I got the idea that I might be able to wedge the transom away from the outer skin.
Several weeks went by and I went out to inspect where I had left off. The wood had dried considerably and I noticed there was some seperation starting to take place between the skin and the wood from the transom. It would be a couple of more weeks before I could put my idea to the test.
D-Day
Well now it's time to impliment my brainstorm. I first cut seven wedges; four that came to fine points about 12" long and three that had blunt ends about 18" long.
I drove the thinner wedges in first being careful not to drive them too quickly. I didn't want to run the risk of cracking the outer skin. Some of these pics are out of order, but you'll get the idea.


These went in on the right and left sides. I then started a larger wedge in the middle.

It was amazing; you could hear the wood separating from the glass; once the cracking and poping slowed I would begin driving a little further. I then began to realize that I hadn't gotten all the glass away from the bottom and sides of the transom. So I took my grinder and ground the glass all the way around the inside perimeter of the transom; down to the wood.

Once that was accomplished the wood should seperate easily the further I drove the wedges. I began two more large wedges on the right and left sides.


I finally had what appeared to be good seperation. I waited untill I couldn't hear any more crackling and gave the wood a good shove. She popped right out!


Here's a couple of more pic's


Now the transom is out, thank goodness, and is ready for grinding and replacing.

I'll be posting the the cutting and glueing of my replacement transom soon. Thanks for looking.
Hick


