• Welcome to the Checkmate Community Forums forums.

    You are currently viewing our boards as a guest which gives you limited access to view most discussions, articles and access to our other FREE features.
    By joining our free community you will be able to:

    » Interact with over 10,000 Checkmate Fanatics from around the world!
    » Post topics and messages
    » Post and view photos
    » Communicate privately with other members
    » Access our extensive gallery of old Checkmate brochures located in our Media Gallery
    » Browse the various pictures in our Checkmate photo gallery

    Registration is fast, simple and absolutely free so please, join our community today!

    If you have any problems with the registration process or your account login, please contact support by clicking here or by using the"contact us" link at the bottom of the page.

1975 V-Mate II Restore

A HUGE thank you goes out to Brian for his help today. :cheers:

THANK YOU for taking time out of your Sunday to paint my boat. What took me two hours to apply one coat only took you only serveral minutes. As I said earlier, never hesitate to ask for me to repay the favor. I definitely look forward to seeing you at Cumberland, if not before.

I will be posted here in a little bit unless Brian beats me to it.
 
Last edited:
Was good meeting you today Mike and had fun painting it. Its nice getting something ready to spray and not having to do weeks worth of work on it!!

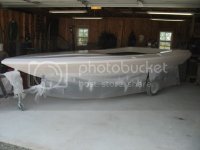
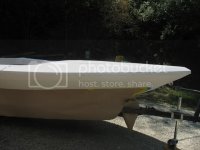
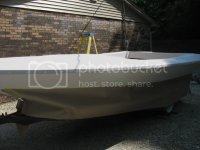
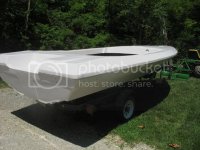
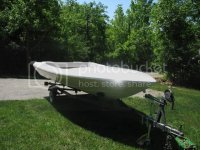
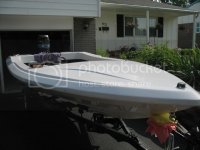
I will some what spoil your fun, here is a couple pics


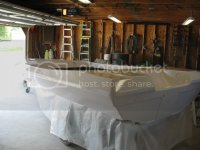
Megan helping Mike mask the bottom up.


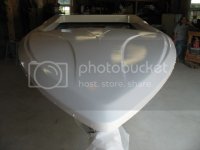
All painted and ready to go to my bake booth :thumb:

And with the help of the old Deere, its in the oven :rof:


Now that you made me go out to the garage and forced me to hook up the green boat and drag it home
poke.gif
, I have some progress on it as well :bigthumb:
 
Nice :thumb: I got mine ready to tow home this weekend but couldnt bring it back . Had to bring one of the jet skis back . Have to take it in to the shop tomorrow
 
Here are some of the pictures of the boat up to and including Brian's paint job...

Filling with Interlux products prior to priming:
IMG_4526.jpg

IMG_4527.jpg

IMG_4528.jpg

Primer coats using Interlux Pre-Kote
IMG_4532.jpg

IMG_4533.jpg

IMG_4534.jpg
 
My attempt at appling Interlux Brightsides. I can definitely tell you that I thinned it up to the 10% as recommended and it wasn't as thin as it should of been therefore probably resulted in really bad orange peel.
IMG_4556.jpg

IMG_4557.jpg

IMG_4559.jpg

IMG_4560.jpg

This was the result after spending two days sanding the orange peel out:
IMG_4647.jpg

IMG_4648.jpg

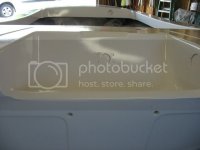
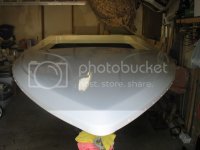
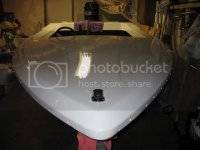
This is after Brian sprayed two coats:
IMG_4649.jpg

IMG_4650.jpg
It's definitely blinding out in the sun.
 
"OUTSTANDING" is the word. That looks real nice. :cheers: Ok, now that, that hurdle is past what is the next step? I bet you have the sweet smell
of water in your nostrels about now.

A test ride is in the near future, I feel it in my bones.

Brian is one hell of a guy. :thumb: Definatly not many around like him. :sssh:
 
There is only a little over 30 days till Cumberland........ you almost done yet? :poke: :cheers:
I'm getting there. :thumb: Finally glassed in my seat boxes last night and plan on painting the bilge area by Saturday. Once complete, I can start installing the gas tank, jack plate, motor and the basic electrical componets to get it on the water.
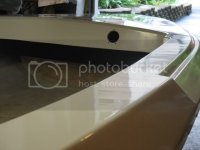
 
Here are some pictures for an update. I took and did a light wet sand to the paint uding 1000 then I hit it with some Aqua-buff and it knocked down some of the dirt that was in the paint but I still have some orange peel. More on that later...
IMG_4654.jpg

IMG_4655.jpg

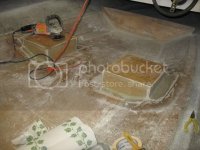
Then I installed my seat boxes. To do so, I needed to reinstall my steering so I can figure out where I want my seat.
IMG_4656.jpg

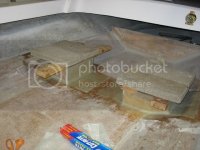
Second layer of 1708 over the seat boxes
IMG_4660.jpg
I placed 2x4's with some weight to ensure the 1708 would lay flat on top. I came back today and drilled some holes to fill the sides with some thickened resin to fill any voids from trying to make that 90 degree bend.

IMG_4666.jpg
 
I also installed my garboard drain plug. I used 5200 to install this along with a piece of PVC pipe that fits perfectly into the garboard.

IMG_4658.jpg

Today, I decided that I wanted to work some more on the paint. I decided to go ahead and get a little more aggressive so I wet sanded again with 1000, then 2000. I picked up a really nice wool bonnet and 3M Machine Polish (05996). It totally brought back the shine and looks great!

IMG_4665.jpg

IMG_4667.jpg

IMG_4668.jpg

After I eat dinner tonight, I plan on painting the bilge area with Bilge-Kote. I also bought my carpet from Skippers and will need to pick that up from sometime this week. My goal is to have a motor mounted by next weekend.
 
Looking great!

You are going to love they way this thing is going to ride and it is going to feel great knowing you built the whole thing yourself! Keep sending us tons of pics even if they are seemingly unimportant details.:cheers:
 
Here is an update of the progress from the past week or so...

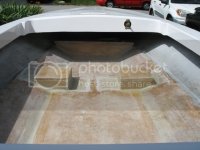
Bilge area painted
IMG_4669.jpg

Spashwell tubes installed with 5200
IMG_4670.jpg

IMG_4671.jpg

Gauges cut in and steering wheel reinstalled (again). I will get some bezels for the gauges sometime in the future. I'm still undecided on what I want (blue, black, polished/chrome).
IMG_4672.jpg
 
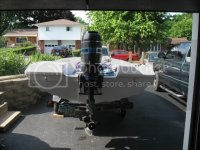
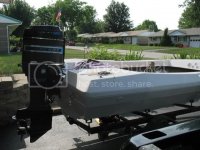
Today's task was getting the old motor mounted. I have a 4" jack plate unfortunately my steering is too short. Until I see how this thing runs, I'm going to wait on upgrading the steering and installing the jack plate. I have a newer Mercury will eventually be put on the boat but I don't think I'll have the time to swap them out to meet Cumberland's deadline. I'm really crossing my fingers with this motor.
IMG_4700.jpg

IMG_4701.jpg

IMG_4702.jpg

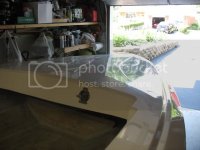
New bow light
IMG_4704.jpg
 
Back
Top