• Welcome to the Checkmate Community Forums forums.

    You are currently viewing our boards as a guest which gives you limited access to view most discussions, articles and access to our other FREE features.
    By joining our free community you will be able to:

    » Interact with over 10,000 Checkmate Fanatics from around the world!
    » Post topics and messages
    » Post and view photos
    » Communicate privately with other members
    » Access our extensive gallery of old Checkmate brochures located in our Media Gallery
    » Browse the various pictures in our Checkmate photo gallery

    Registration is fast, simple and absolutely free so please, join our community today!

    If you have any problems with the registration process or your account login, please contact support by clicking here or by using the"contact us" link at the bottom of the page.

86 Exciter Resto

Ramifications

Well-known member
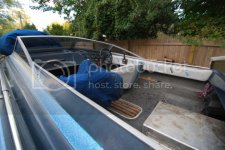
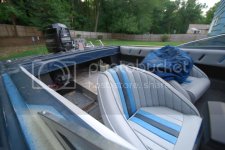
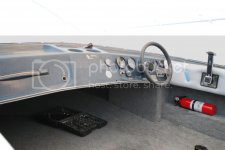
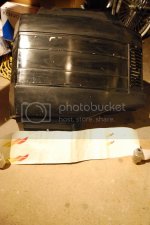
I'm going to start this off by posting up some before pics. As some of you may know, I've been plugging along with a little here and a little there, but haven't gotten fully into yet.

This is the weekend I decided it is time to start, partly due to the June Chesapeake Gathering.

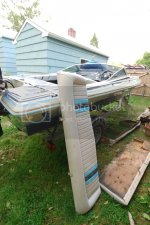
Here are a few before pics from when I first brought her home...
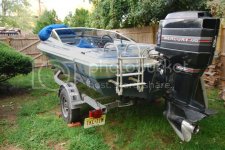
DSC_0018.jpg

DSC_0008.jpg

DSC_0014.jpg

Whats left of the back seat
DSC_0017.jpg

A couple from the first run and a quick wash after
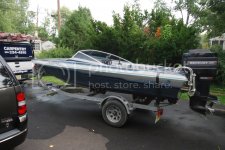
DSC_0017.jpg
 
Last edited:
As the season same to end, I began ordering all of the parts I will need to make this restoration happen. I took the power head off and sent it down to Chris Carson for a rebuild and a few mods, and got a 10" CMC Hydro jack plate from Wildman.

The engine cowl and mid have the decals removed, surfaces cleaned and sanded out. I'm going to repaint the engine and install decals provided by EZstriper. I will post pics of the engine and decals tomorrow.

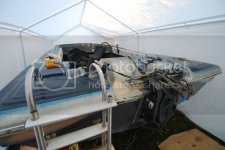
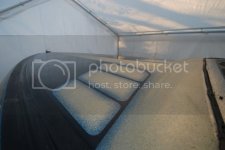
I went out and bought the cheapest 10x20 canopy garage I could find, and assembled it today. After it was assembled I started to strip things down. The rub rail is out, the bow rail is off, the windshield if off and started to remove cleats etc.. I didn't have much time for all of this after running around this morning and had to go get fit for suits for my sisters wedding. I will get back on the final removal tomorrow and start sanding out the gel coat.

Here are some pics from today...

DSC_0053.jpg

DSC_0046.jpg

DSC_0044.jpg

DSC_0050.jpg

DSC_0048.jpg

and what I have for tomorrow...

DSC_0052.jpg
 
Ram are you gonna water sand the gel coat then buff it out? Since you got metal flake you may want to try 1000 grit first, maybe that will remove the oxidation then you can buff. 3M heavy duty rubbing compound or aqua buff might work as well. :thumb:
 
Ram are you gonna water sand the gel coat then buff it out? Since you got metal flake you may want to try 1000 grit first, maybe that will remove the oxidation then you can buff. 3M heavy duty rubbing compound or aqua buff might work as well. :thumb:

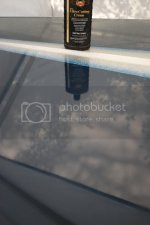
I was going to do a test spot with the buffer first, but I think it will need to be sanded out. The 600 was for the engine that I will be repainting. I plan to clean the hull with on & off- sand with 1000 and 1500 - buff with 3M heavy duty compound and Presta ultra cutting creme and finish it off with a coat of Collinite Fleetwood wax #885.

I will try to post up some pics later and show my progress and all of the parts that will be going onto the boat.

A couple questions I do have... The transom appears to be rock solid and without any flex at all, but what it the best way to be 100% sure. Can I use a moisture meter to check MC (moisture content)? Should I drill some holes from the inside?

My second questions is... I have a few stress cracks around the back of the stern area on the top deck. They are around the back corners of the cockpit and the two corners of the splash well. I was thinking of just having this area repaired and painted above the rub rail. I was concerned with getting the color match to be perfect, so I would just do a complimenting color. Thoughts? again I will post pics later...

Off to work...

You can drill 1/4" in different spots for spot checking the transom. Then use some cloth and resin to seal those holes up. For the stress cracks post some pictures, if they aren't bad I would leave them.
 
I started off today with removing the remaining decals. The registration numbers, misc old stickers on the dash and the faded "Checkmate" decals on the side of the hull. I will be in touch with EZstriper for new "Checkmate" decals for the hull and trailer.

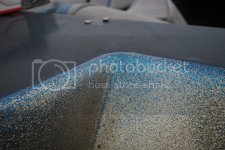
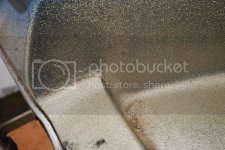
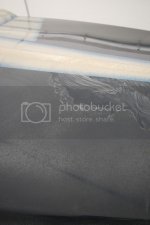
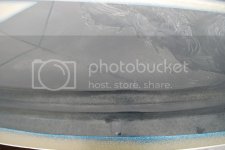
Once I finished up with the decals, I removed the remnants left under the windshield and by the old stickers and washed the hull with Mary Kate On & Off. I did some sample patches to see what was going to be needed to remove the oxidation. It turned out I needed to used the 600, 1000 and 1500 before I buffed it. I got 95% of the hull sanded, buffed and waxed above the rub rail. I also removed everything on the dash, so that is now ready to sand and wax as well.

The first run with the buffer was with 3M Heavy Duty rubbing compound and I applied it with 3M 05711 compounding pad. After the Compound I polished it with Presta Ultra Cutting Creme and a 3M 05725 polishing pad. Once I finished the sanding, buffing and polishing I waxed it with Collinite Fleetwood Wax #885.

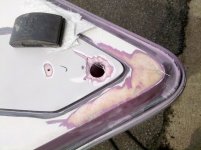
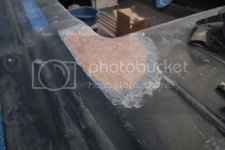
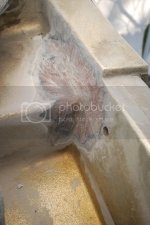
Here are some before, during and after pics from today, along with the stress cracks...

25.jpg

27.jpg

26.jpg

before/during sanding

29.jpg

28.jpg

After wax

21.jpg

23.jpg

210.jpg
 
Nice goodies for the boat!!!!:thumb: The gelcoat looks great from the pictures you posted!!! Now for the stress cracks, I pulled this from badbk's thread on gelcoat cracks response by YF:
Repairing with Bondo, filler, or primer over any cracks will last about 3 minutes..... if your lucky.

The ONLY way to repair cracks in gel or fiberglass and make them last it to grind with 36 grit down to fiberglass resign. I go at least 2" on either side of the crack. Lay in 2 layers of fiberglass mesh. Sand down and repeat till you have enough build to level repair back out flush. At that point you can use bondo, kitty hair(like robby posted), or mari tech (sp?) to smooth it before primering. I have done this a long time and worked on a lot of corvettes and know what does and does not work. Do it the right way so you do not have to re do it down the road. The link:http://checkmate-boats.com/forums/showthread.php?t=22841
 
If you repair the cracks structurally as cmpls says so they don't come back you will have to paint. I would see how bad they look after wet sand and buff. They may not look that bad when done.
Looks good so far...:thumb:
 
My dad has always told me... If something is worth doing, it is worth doing well! I hold this true with everything I do:thumb:

As for the stress cracks- I will grind and sand them out as mentioned above. With all of the colors on the boat, I think I can find a color to paint that area that will look good. That is the only area I didn't sand and buff today.

The two cracks at the back of the splash well look troubling to me. I'm likely going to lift off the top deck to get a better look at the transom. I wouldn't want to do all this work, and fix the stress cracks, to have something else give. I will be adding 25-40hp, 10" of setback and the extra weight of the CMC JP along with the added tq of the 25p prop, so the extra effort now would be the time to do it.

When I look over the fuel tank and below the upper deck, there is some kind of foam/filler on the transom between the hull and upper deck. Do all mates of this era and size have this, or is this something extra someone added. Also, there is a metal plate on the transom with a lip that goes over the top and another piece in the splash well. Are the plates standard? You can see them in at least one of the pics I posted.

If there is anything else you would do if this was your boat, please let me know.
 
Hard to tell how the transom is from those cracks, almost every 25 year old boat will have those in the corner of the splash well.

That's a nice pile of goodies you got going on :bigthumb:

The foam/filler on the transom where the deck and hull meet is normal, mine has it and I know it's all original.

The plate on the front and back of the transom is also standard on that era, they are galvinized steel, I took mine off and copied them out of aluminum.

I would also add transom support plates to the top and bottom holes like this one

180695_487221662059_593712059_6516821_2623973_n.jpg


http://www.overtons.com/modperl/product/details.cgi?i=24949&pdesc=T_H_Marine_Transom_Support_Plate
 
Looks good. Bob's Machine has those plates for pretty cheap. I got a pair of the "Scream and Fly Racing" ones from there.

A word of advice on that car port from someone who has had them for many years, don't let much snow build up on it. I go out every few hours if I can and always clear it before bed and before I leave for work. The more expensive ones have more bows and are made of a thicker material so they can handle the load better. Also, it tends to get really damp in there since they don't breathe. I try to leave the ends open for a few days after it rains. You will get some sweating from the roof so don't count on it being totally water tight.

John
 
New TH Marine support plates came in the mail yesterday... Thanks for that suggestion:cheers:

Moving onto the stress cracks... I plan to start on them this Sunday, as Saturday is a lost cause and nothing will be done on the boat. What type of fiberglass and resin would you suggest using? Also, if anyone has any specific pointers before I dive in, it would be greatly appreciated!

I would like to finish up wet sanding and buffing the rest of the top deck, get the fiberglass repairs started or finished, and start on the hull of the boat.

The sooner I get this portion of work done, the sooner I can start bolting on the goodies and rebuild the backseat:banana:

You'll need to get polyester resin, thats what they build the boat with. The matt use csm 1.5 oz, you can get both from Mertons. www.mertons.com
http://www.mertons.com/Reinforcements/chopped.html
http://www.mertons.com/Epoxy/polyester_Resins/index.html general purpose
http://www.mertons.com/Epoxy/polyester_Resins/polyfair.html
 
Looks like this project will wait until next week. I dropped the ball on asking this question earlier in the week, now I will have to wait until it gets here. Oh well, plenty to do until next weekend...
 
Today's progress...

Removed what was left of the engine and the transom plates
Grind out all of the stress cracks
Remove the swim ladder - what a PIA with the nuts over the foam in the back corner
Wet sand, Compound, Polish and wax the dash area
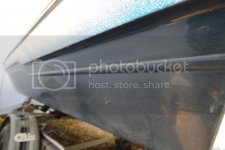
Wet sand, compound and polish the port side of the hull and the transom
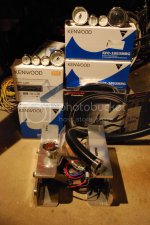
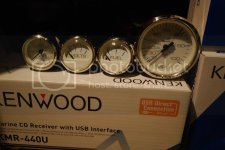
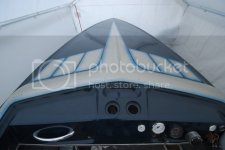
I jumped the gun a little, but I had to see what the new gauges looked like!

While I was under the back of the boat pulling off the swim ladder, I drilled some holes in the transom... Dry and solid as a rock. Is it worth doing anything to reinforce the transom to prevent any flex? I assume some flex is why there were stress cracks in the back of the splash well.

I will order the fiberglass, resin and the paint I need tomorrow. Next weekend I plan to finish the wet sanding and buffing and begin putting everything back together. I should be able to spend both Sat and Sun working on the boat next weekend, but then I won't be around for the following two weekends.

All in all, I'm very pleased with the way everything is coming out. Can't wait to get on the water this spring:surf:

3.jpg
31.jpg
32.jpg
Look at that reflection:eyecrazy: I really like the look of the White face gauges with brushed trim on the dark blue dash!
313.jpg
Before
34.jpg
After
35.jpg
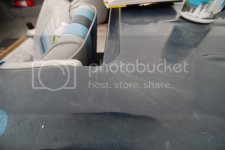
Left side is before-middle is sanded with 600,1000,1500-Right is compounded and polished after sanding
39.jpg
 
Back
Top